You can easily clean your air conditioner without spending money on a professional cleaning team.
We know that cleaning is not fun, especially when you’re fighting dust, fungi and other particles that make you sneeze. We’ll show you how to easily clean the air conditioner and get ready for the hot summer.
To simplify, we divide the task into three simple processes, including cleaning the three dirtiest parts of the air conditioner.
- The AC Ducts
- The AC Coils
- The AC Filters
You must spend at least 30 minutes on each component. 90 minutes in total. It’s not a lot of time, because it’s enough for you to clean the air conditioner once or twice a year.
Why clean your air conditioner?
Dirt and debris accumulated for a long time can easily block the air conditioner unit. If you don’t clean it for a long time, your air conditioner will break down and you will have to pay for replacement or repair. In addition, mold and dirt will reduce the efficiency of unit and lead to high electricity charges.
In addition, dust and other allergens such as mold will have a negative impact on your health and make you uncomfortable. Although it sounds dangerous, your air conditioner may be one of the reasons why you are ill.
How to clean air conditioner pipes?
This may be the most troublesome part of cleaning the air conditioner. After all, all dirt, dust, debris, fungi and bacteria usually exist in the air duct.
Don’t worry, we’ll show you how to clean HVAC ducts without disturbing your home.
Step 1: Cover the supply registers and home electronics
Use plastic film to cover electronic equipment such as desktop and TV. Next, cover and block all power registers (ventilation covers) with a few cleaning cloths. This is to prevent dust and dirt from being blown into your room.
Step 2: Turn on the fan
This will help to blow all dirt and dust from the inside of the duct to the duct opening for cleaning.
Step 3: Open and clean the supply and return registers
Please make sure you have turned off the fan and air conditioner. Next, open the supply and return registers and clean all dust and dirt accumulated there. Use a long-handled dust brush to go deep into the pipe. Then, use your vacuum cleaner to suck in the dust.
Step 4: Clean the air duct
First, clean the air duct as much as possible with your long-handled dust brush. Next, use your vacuum cleaner (preferably a long hose) to suck in all the dust and dirt. Then, dip your cleaning cloths in soapy water and clean as far into the ducts as your hand can reach.
Step 5: Replace the furnace filter
It is recommended that you replace the furnace filter at least once a year. Sometimes there may be too much dirt accumulation and permanently block the filter. Finally, let the parts dry and carefully place the air ducts together. Remember, keep your electronics away from dust.
How to clean the air conditioner coil
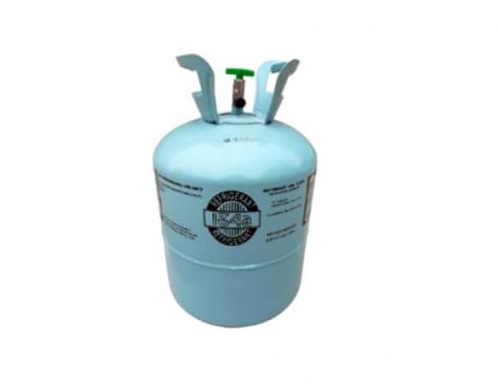
The air conditioner coil contains refrigerant for cooling indoor air. Your air conditioner first sucks in the hot air in the room, and then passes through the coil. The refrigerant in the coil absorbs the heat in the indoor air. Then the cold air is pushed back into the room. Dirt and dust on the coil will reduce the efficiency of the air conditioner. The dirt layer will isolate the coil and prevent the refrigerant from absorbing heat. This will force your air conditioner to consume more electricity.
Step 1: Enter the air conditioner coil
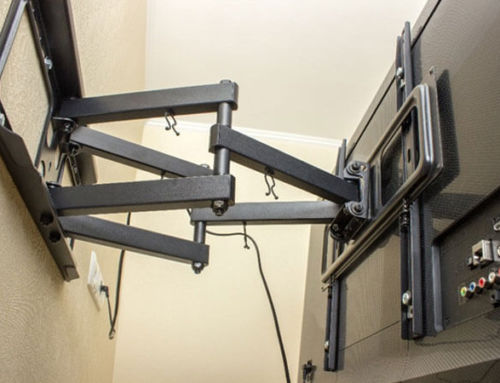
First, turn off the air conditioner and make sure the power is off. For air conditioner units, the coil is usually located at the rear (outside the window / in the wall). Loosen the cover with a screwdriver according to the air conditioner manual.
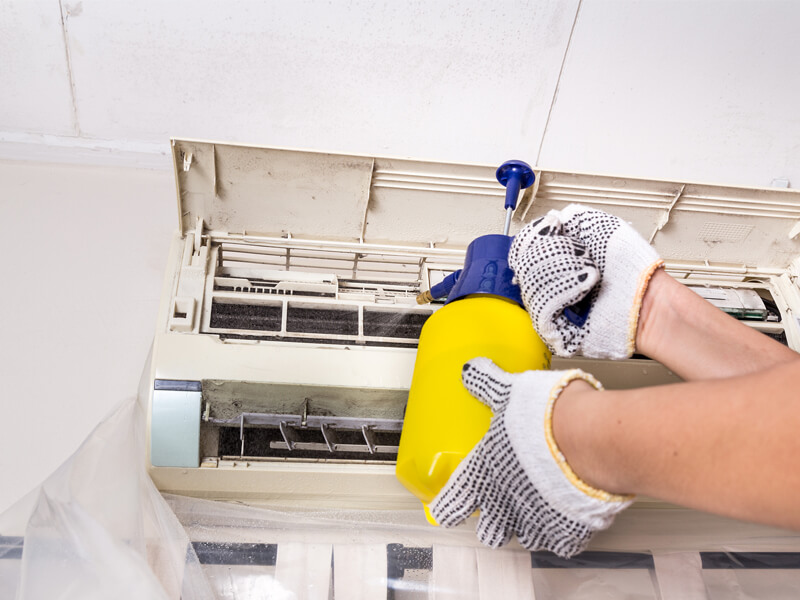
Step 2: Check and clean the coil and heat sink
Before cleaning, check the coils and fins for signs of damage. Next, pick up the coil brush and clean it in a direction parallel to the heat sink on the coil. This will help straighten out fins that may be slightly bent or misaligned. Please pay attention to safety.
Step 3: Flush the coil
Remove the coil and flush the coil with medium pressure water. This will help remove residual dust particles.
Step 4: Apply the foam coil cleaner.
Please note that there are two main types of foam coil cleaner:
- Standard cleaners.
- Modern cleaners that don’t require you to rinse after application
Shake the bottle and apply it directly to the coil and heat sink. Its foam characteristics will enable it to squeeze into places where water cannot reach. The foam must be applied until the coil is completely covered and cannot be seen. Next, keep the foam for 15 minutes.
Step 5: Rinse and dry the coil
For standard coil cleaners, you must rinse after use and allow the coil to dry before assembling the unit. Flush with movement parallel to the heat sink to prevent hose water from bending the heat sink.
For modern coil cleaners, no flushing is required. Just wait for the foam to dry and then assemble the air conditioner.
You will be surprised to find that cleaning air conditioner coils can greatly improve efficiency.
How to clean the air conditioner filter
Filter is the main tool to clean indoor air. You don’t know how important filters are in your home. As we have mentioned before, the dirt, bacteria, fungi and pet fur in the indoor air are so dirty. In addition, the filter ensures that dust and dirt do not come into contact with other internal components.
Step 1: Turn on the air conditioner and enter the filter
First, remember to turn off the air conditioner. Refer to the air conditioner manual for the location of the filter. Next, use a screwdriver to open the cover or loosen the filter. It is also important to confirm whether the filter is replaceable.
Typically, non-replaceable filters have metal or plastic frames. In this case, you must clean them up. Replaceable filters are usually sealed with a cardboard frame. Remove and replace the filter with a new one. Pay attention to the size of the filter and do not buy a filter incompatible with the air conditioner.
Step 2: Check the filter
Check the filter for damage, corrosion or any signs of wear. If these defects are found, replace the filter.
Step 3: Clean the filter
First, use a hand-held vacuum cleaner to suck in all dirt and debris in the filter. Next, use the water from the faucet to remove the residual dirt. Make sure to flush in the opposite direction of the air flow.
Step 4: Allow the filter to dry
Place it in natural light. Overheating will damage it. You can use a hair dryer in a medium setting to speed up the process. Make sure that the filter is turned over every 10 minutes until both sides are completely dry. You should also check the air conditioner filter at least once a month, especially if you live in hot and humid areas because it is easy to breed mold.